Part 1: Create a custom View
From AgileApps Support Wiki
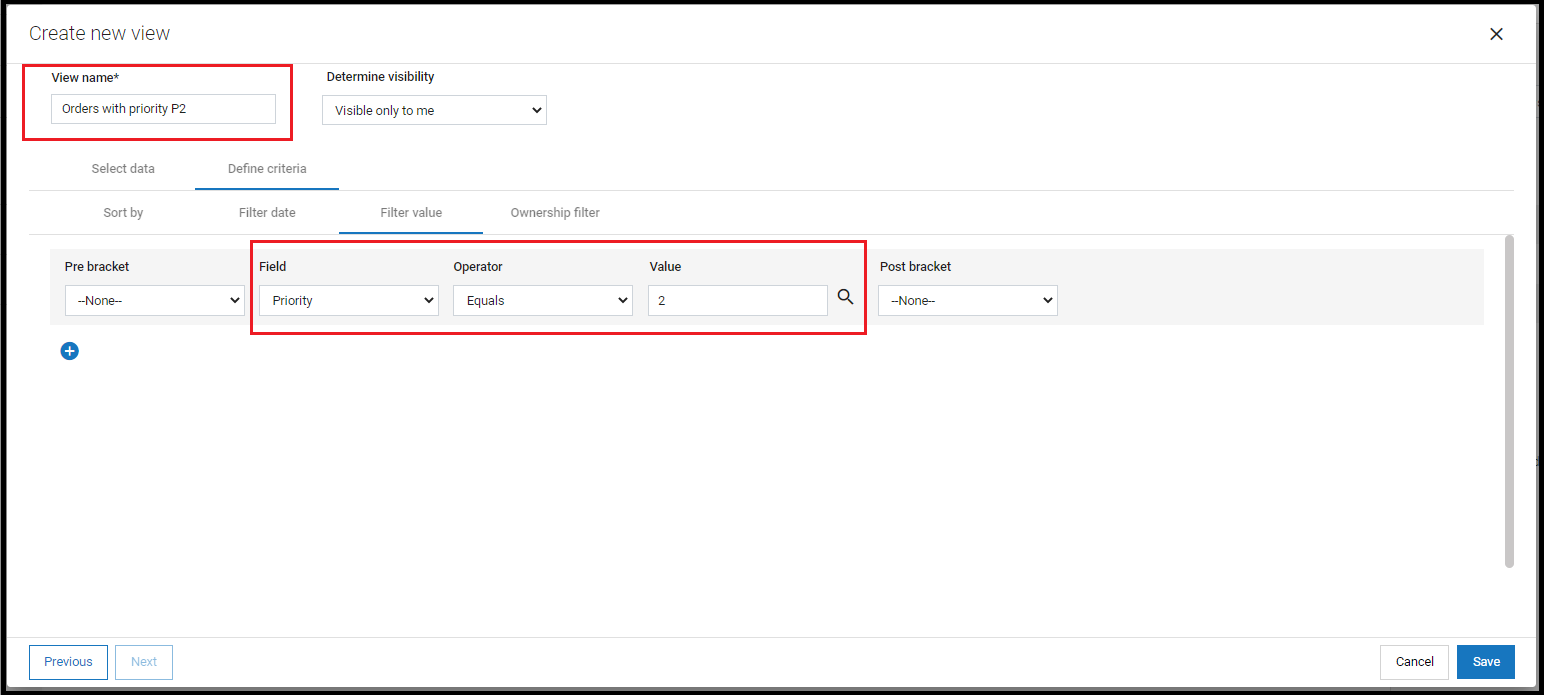
In this part of the exercise, you create a View that shows only Priority 2 orders.
- Login to AgileApps Cloud as yourself.
- Select the Orders tab. Note on the right-hand side the list of default Views that were generated when you created the Orders Object.
- Click link +Create New View. The Create new view window appears.
- Provide a View name: Orders with priority P2.
- Click the Define criteria tab. Under the Filter value tab, select Priority under Field field and P2 in the Value field.
- Click Save.
- Make the View visible to everyone.
- In the listed Order Views, note the new Orders with priority 2 view is visible as a separate tab:


