Difference between revisions of "Registering your Application in the External Mail Server"
From AgileApps Support Wiki
Wikieditor (talk | contribs) (Created blank page) |
Wikieditor (talk | contribs) |
||
| Line 1: | Line 1: | ||
== Using Gmail as your Mail Server == | |||
Before you configure your mailbox settings on AgileApps Client, perform the following steps to register your application in the Google Mail Server. | |||
=== Registering your Application in the Google Mail Server === | |||
You must register your application in the Google Mail Server as an OAuth Client. You must create a project prior to performing the application registration process. | |||
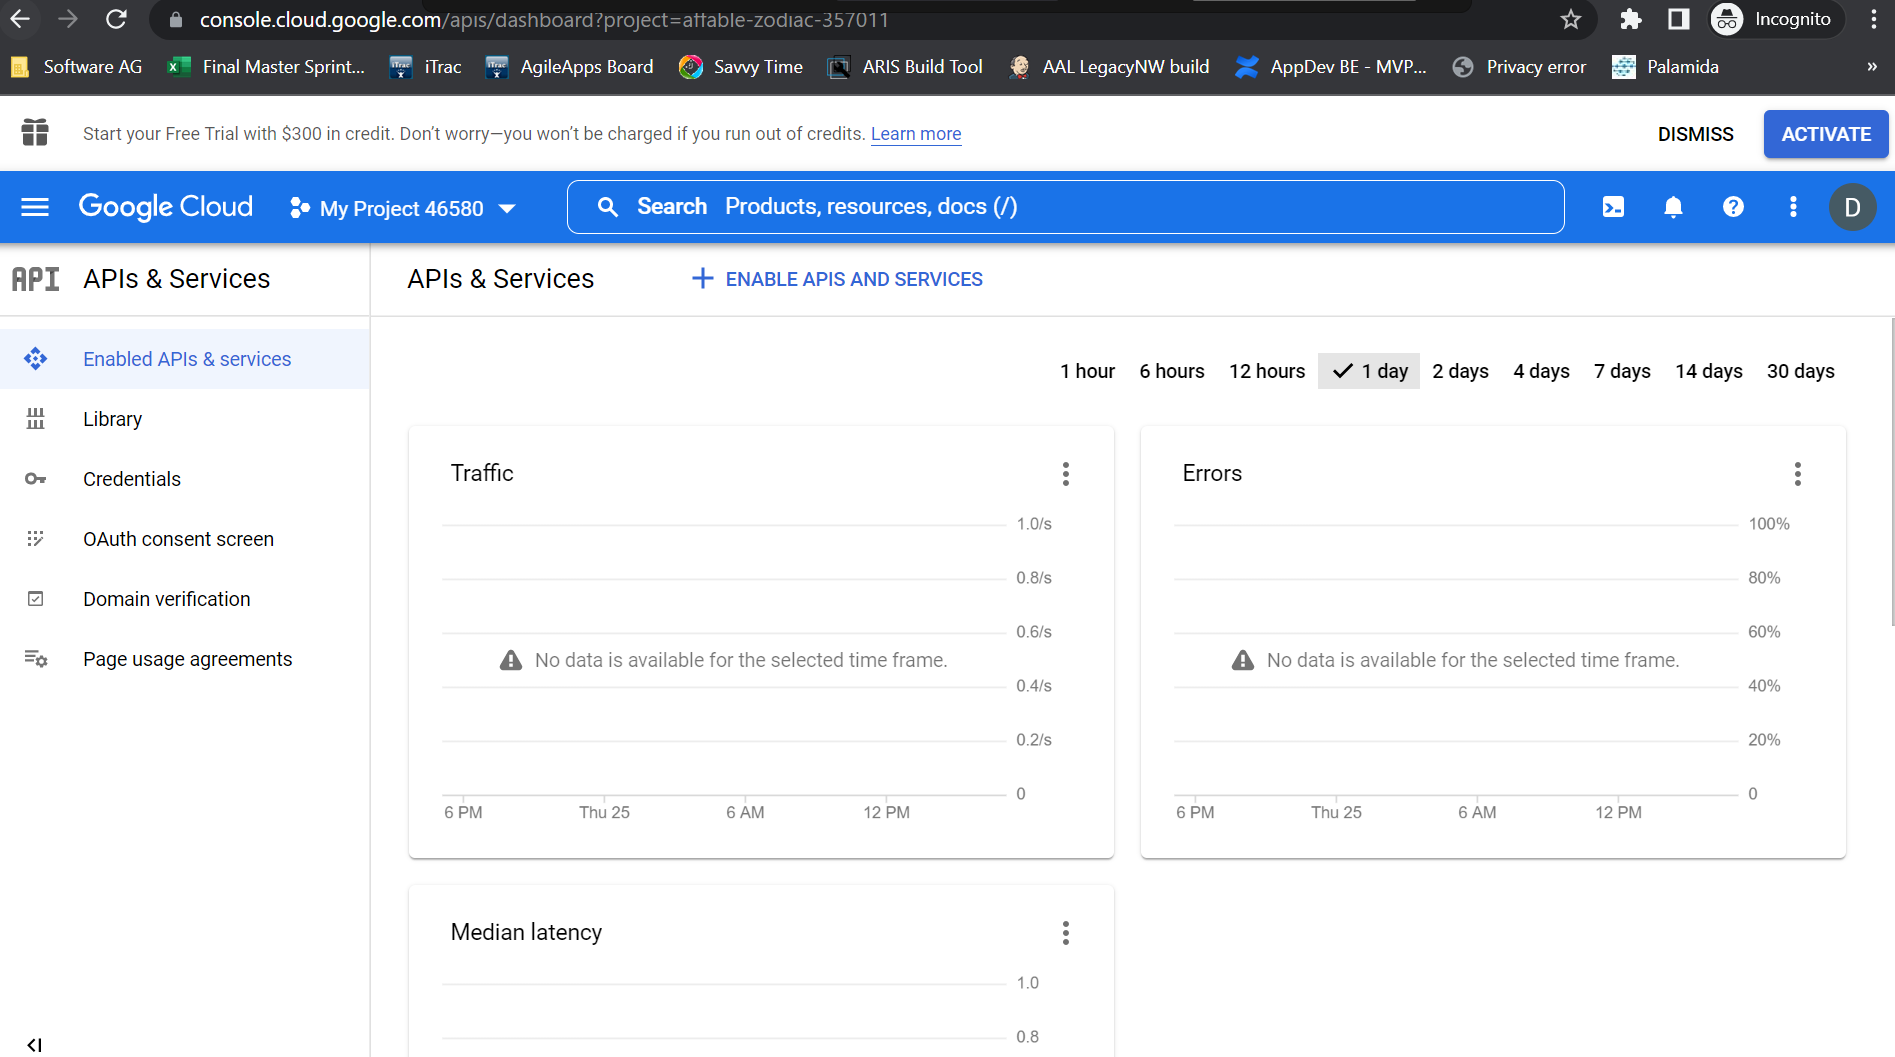
# Go to the [https://www.console.cloud.google.com/| Google Developer Console], select the email address you have registered for the external Mailbox, and enter the password.<br><br>[[File:Google_Cloud_Console_Dashboard.png|1000px]]<br><br> | |||
# Under the '''Project''' drop-down, click '''New Project'''. | |||
# On the '''New Project''' window, enter the project name in the '''Project name''' textbox.<br><br>[[File:Project_Creation_Google_Cloud_Console.png|1000px]]<br><br> | |||
# Click '''CREATE'''. | |||
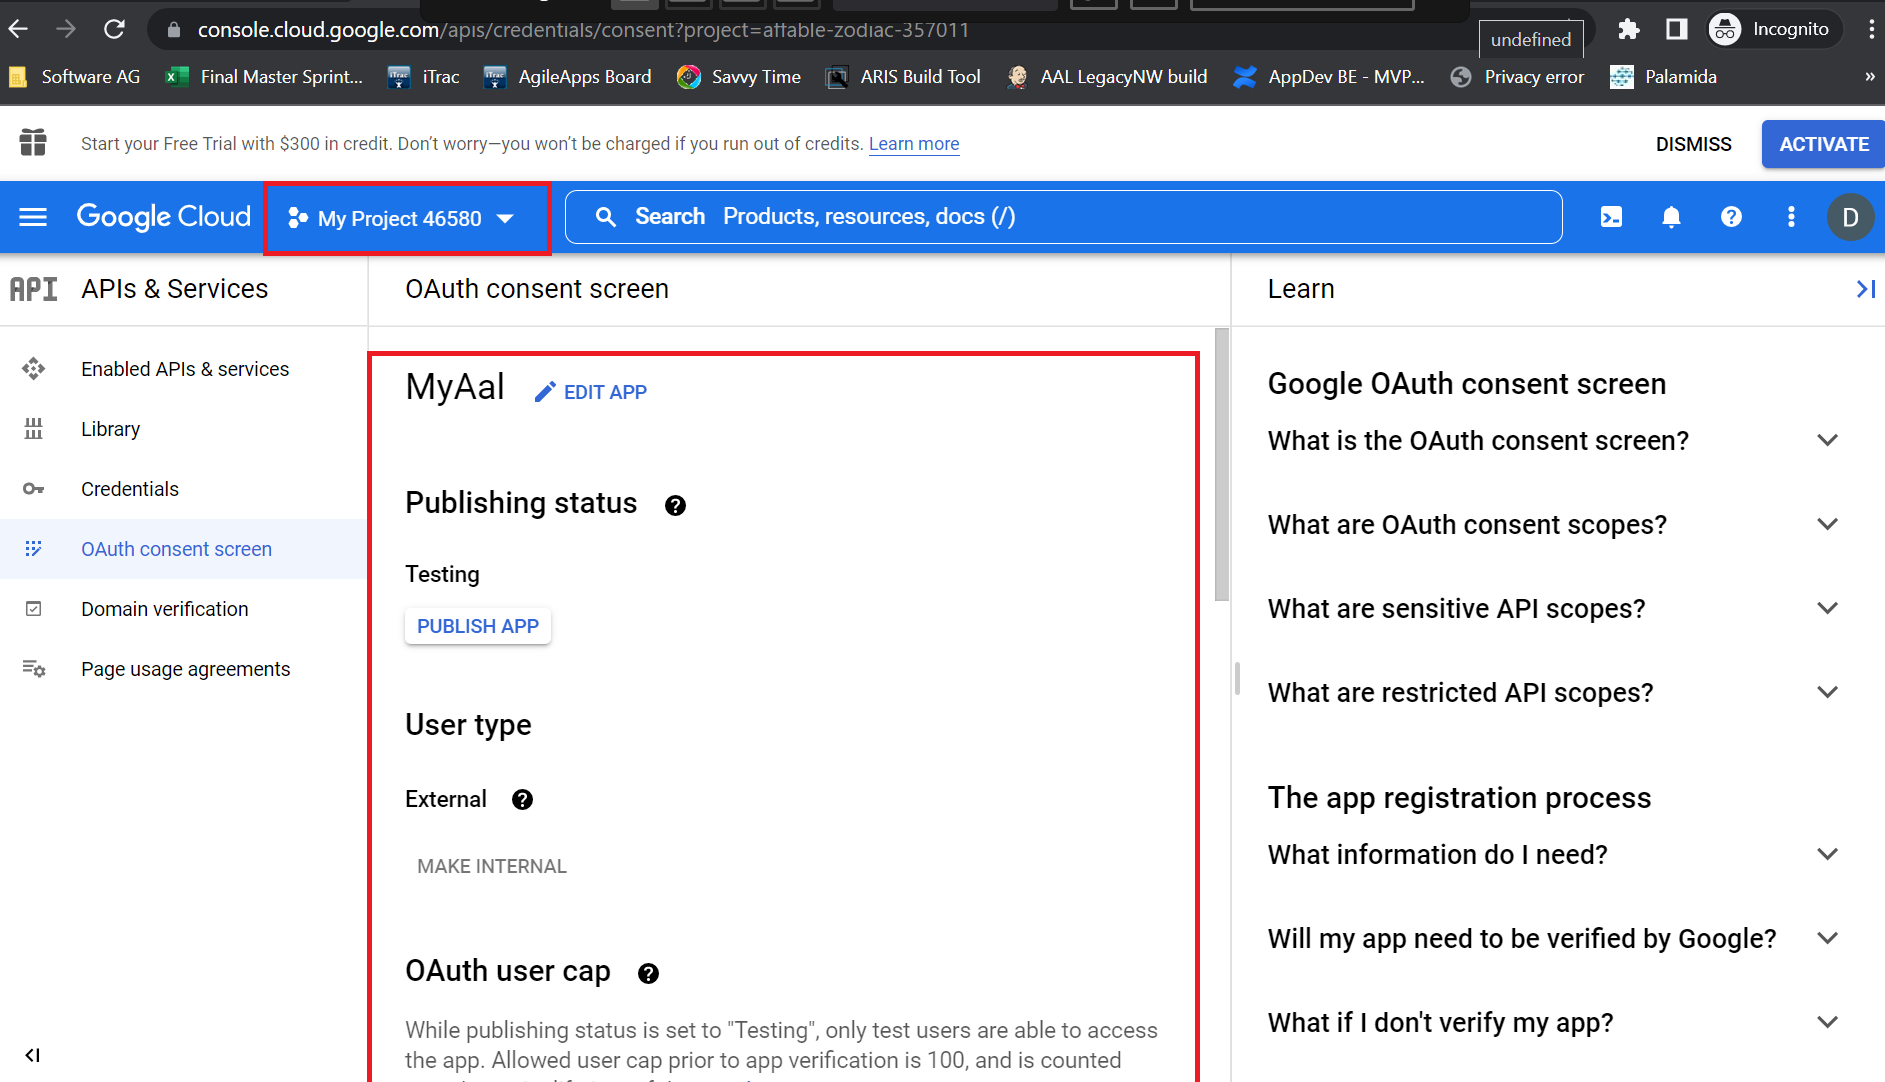
# Under the '''APIs and services''' page, go to the '''OAuth consent screen''' and select the '''External''' option and click '''OK'''. | |||
# On the '''Edit app registration''' page, enter the following details and click '''Save'''.<br> | |||
#:* '''App Information''' | |||
#:** '''App name:''' Enter the application name you want to register. | |||
#:** '''User support email:''' Enter the email address you have registered as the external mailbox. | |||
#:** '''App logo:''' Upload an image, not larger than 1 MB on the consent screen that will help users recognize your application. Allowed image formats are JPG, PNG, and BMP. Logos should be square and 120px by 120px for the best results.<br><br>[[File:Edit_app_registration_page_Google_Cloud_Console.png|1000px]]<br><br> | |||
#:* '''Developer contact information'''<br> | |||
#:** '''Email addresses:''' Enter the same email address as provided in the '''App Information''' section. Click '''SAVE AND CONTINUE'''. | |||
#:* '''Gmail scopes:''' Click '''ADD OR REMOVE SCOPES''' on the top of the page to add scopes. Enter https://mail.google.com/ in the '''Manually add scopes''' textbox and click '''ADD TO TABLE'''. Select the checkbox for the scope that you added recently. Click '''UPDATE'''. Click '''SAVE AND CONTINUE'''. | |||
#:* '''Test users:''' Click '''+ ADD USERS''' to add the test user. You can enter the same email ID you provided earlier as a test user. Click '''SAVE AND CONTINUE'''. | |||
# Under the '''APIs and services''' page, go to the '''Credentials''' page and click '''+ CREATE CREDENTIALS'''. Select '''OAuth client ID''' to create an OAuth client ID. Enter the following details and click '''SAVE'''.<br> | |||
#:* '''App name:''' Enter the application name. | |||
#:* '''Authorized redirect URIs:''' Click '''+ ADD URI''' to add the redirect URI. For example, https://localhost:8284/networking/rest/token.<br><br>[[File:Redirect_URI_Google_Cloud_Console.png|1000px]]<br><br> | |||
# Once you complete step 7; you will see the Client ID and Client Secret being generated and displayed on the right side of the '''Client ID for Web application''' page.<br> | |||
#: '''Note:''' You must copy the Client ID and Client Secret and paste them into respective fields on the AgileApps Client '''Mailbox''' > '''OAuth Configuration''' page settings. | |||
Revision as of 07:57, 27 December 2022
Using Gmail as your Mail Server
Before you configure your mailbox settings on AgileApps Client, perform the following steps to register your application in the Google Mail Server.
Registering your Application in the Google Mail Server
You must register your application in the Google Mail Server as an OAuth Client. You must create a project prior to performing the application registration process.
- Go to the Google Developer Console, select the email address you have registered for the external Mailbox, and enter the password.
- Under the Project drop-down, click New Project.
- On the New Project window, enter the project name in the Project name textbox.
- Click CREATE.
- Under the APIs and services page, go to the OAuth consent screen and select the External option and click OK.
- On the Edit app registration page, enter the following details and click Save.
- App Information
- App name: Enter the application name you want to register.
- User support email: Enter the email address you have registered as the external mailbox.
- App logo: Upload an image, not larger than 1 MB on the consent screen that will help users recognize your application. Allowed image formats are JPG, PNG, and BMP. Logos should be square and 120px by 120px for the best results.

- Developer contact information
- Email addresses: Enter the same email address as provided in the App Information section. Click SAVE AND CONTINUE.
- Gmail scopes: Click ADD OR REMOVE SCOPES on the top of the page to add scopes. Enter https://mail.google.com/ in the Manually add scopes textbox and click ADD TO TABLE. Select the checkbox for the scope that you added recently. Click UPDATE. Click SAVE AND CONTINUE.
- Test users: Click + ADD USERS to add the test user. You can enter the same email ID you provided earlier as a test user. Click SAVE AND CONTINUE.
- App Information
- Under the APIs and services page, go to the Credentials page and click + CREATE CREDENTIALS. Select OAuth client ID to create an OAuth client ID. Enter the following details and click SAVE.
- App name: Enter the application name.
- Authorized redirect URIs: Click + ADD URI to add the redirect URI. For example, https://localhost:8284/networking/rest/token.

- Once you complete step 7; you will see the Client ID and Client Secret being generated and displayed on the right side of the Client ID for Web application page.
- Note: You must copy the Client ID and Client Secret and paste them into respective fields on the AgileApps Client Mailbox > OAuth Configuration page settings.


