Part 2: Creating a Document Template
From AgileApps Support Wiki
Revision as of 15:51, 11 December 2022 by Wikieditor (talk | contribs)
In this part of the exercise, you use variables to populate a basic Word template to show an example of creating content quickly. Next, you add a Document Template to the Email Template defined in Part 1.
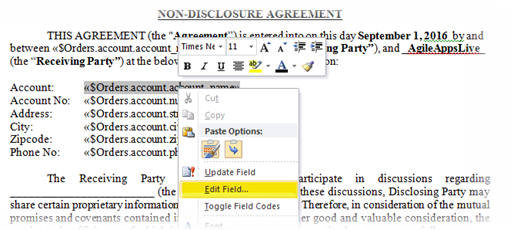
- In Windows Explorer, navigate to the <workshop_dir> folder and open the file Sample_NDA.docx in a compatible editor. This document contains an example “Non-Disclosure Agreement”.
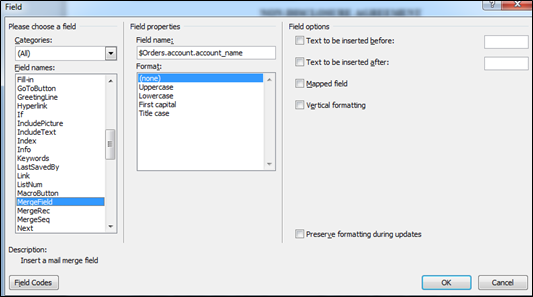
- Notice that this document uses replacement variables similar to the ones you used when you updated the Email Template in the first part of this exercise. When this document is used as a Document Template in webMethods AgileApps Cloud, the “Account” fields will be replaced with values specific to an Order.
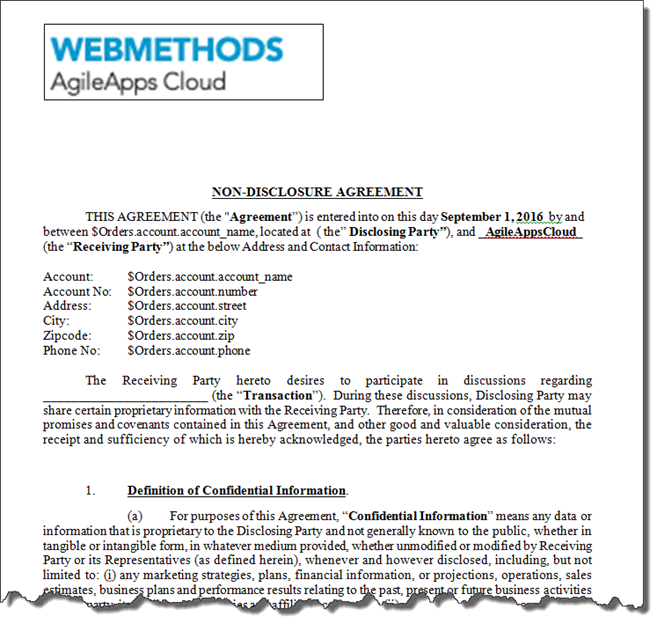
- Notice that this document uses replacement variables similar to the ones you used when you updated the Email Template in the first part of this exercise. When this document is used as a Document Template in webMethods AgileApps Cloud, the “Account” fields will be replaced with values specific to an Order.
- Optionally, you can edit this document to add new variables or change the text.
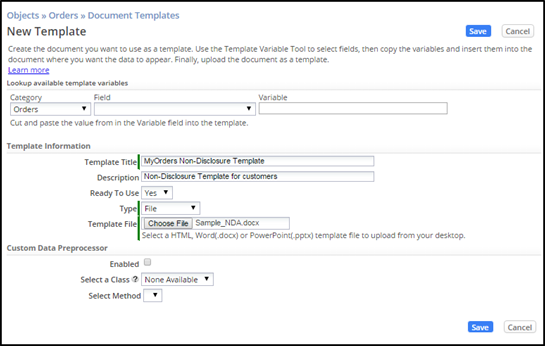
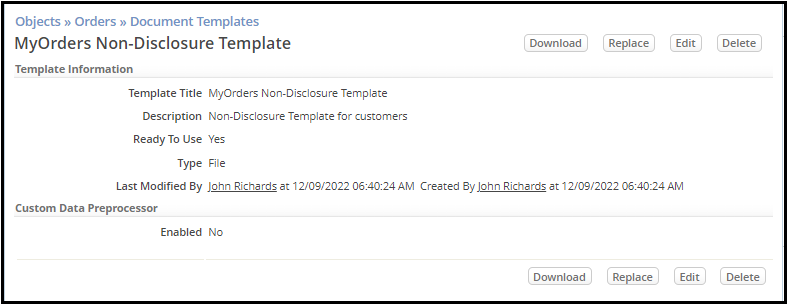
- Login to webMethods AgileApps Cloud as yourself. Create a new Document Template for the Orders Object:
- Re-open the Agent Order Update Email Template. Scroll down to the Attachments section. Click Lookup icon. Check the MyOrders Non-Disclosure Template created above and click Pick Selected Document Templates:

- Save the Email Template.
- To see an example of a document generated from the 'Document Template:
- Create another Order for account Fred Supplies, assigned to the SouthEast region. Provide some Description text and pick a Close Date.
- Claim the record and set the Finish Order Setup Task to Complete.
- Logout and then login as MyManager.
- Look for the new Order and Reject its ManagerApproval Task.
- Open the email sent by your manager as a result of the rejected order.
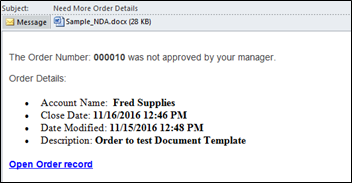
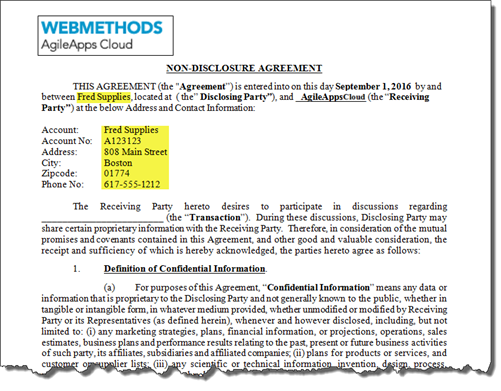
- Open the document (Sample_NDA.docx) attached to your mail to see the order-specific information that replaces the variables in the Document Template:
Taking It Further
To extend what you learned in this exercise, use the AgileApps Cloud wiki pages (http://agileappscloud.info/) to learn how to implement custom data preprocessors in your email and document templates.
