Service Portal Config
From AgileApps Support Wiki
To configure the Service Portal, you start by selecting the features you want:
- Go to
 > Channels > Service Portal
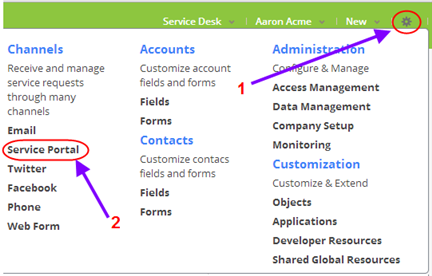
- The Configure Service Portal page opens.
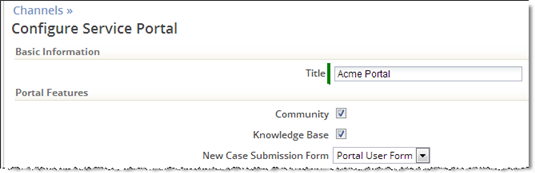
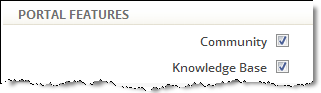
- Under Portal Features:
- Click the Community checkbox to let users interact with each other
- Click the Knowledge Base checkbox to give users access to articles you've published
- In the portal, the Cases tab lets customers create new cases and monitor cases they have created.
- These options create additional tabs that portal users can access.
- Next decide if you'll allow users to register themselves:

- Self-registration is generally useful for business-to-consumer (B2C) support, where customers may have purchased your products through a retail channel. When customers visit your Service Portal, they can then login using their Google ID--or they can create a new username and password at the portal site.
- For B2B support, this option is generally disabled. When it is, customers can register only when you send them an invitation.
- You can also upload a logo image and customize the Service Portal in other ways.
- Learn more:
- Branding Applications for Your Organization
- Service Portal Settings, for a complete list of settings
- Learn more:


