Using the Agent Portal
The AgileApps Cloud platform can be accessed from a tablet, a mobile device, or a computer workstation. Here, you'll find your way around the online interface.
When internal users log in, the first thing they see is the Agent Portal. Tabs listed across the top of the page provide a selection of views, while the sidebar on the right provides view selectors. (In many cases, a variety of action buttons appear above the view selectors.).
Supported Browsers
For information on supported browsers, see Software Requirements.
Accessibility Mode
Turning on the Accessibility Mode feature transforms the interface into one that is readily accessible to users who are blind, visually-impaired, or color-blind, and those with impaired motor skills.
Tabs and Lists
Case Agents will spend the majority of their time in the Cases tab, to select a list of cases to view (current cases, generally). Other internal users will tend to spend their time in the Tasks tab to identify the tasks they need to carry out to advance the handling of a case. (The tabs you see may vary. The ones shown here are common.)
List Views
The sidebar gives you a selection of views, which determines the items that are listed. In the example above, the selection determines which Cases are shown. In a number of tabs, action buttons also appear at the top of the sidebar.
Alternatively, you can search for particular records by typing in a value and clicking the magnifier icon: ![]() . Clicking the arrow at the end of the search bar lets you select the objects to search. For example: Cases, Tasks, Accounts, and Contacts.
. Clicking the arrow at the end of the search bar lets you select the objects to search. For example: Cases, Tasks, Accounts, and Contacts.
Refreshing a List View
To refresh a list view, re-select that view in the sidebar. (The browser's [Refresh] button does not work--it takes you back to the initial login state.)
Top of the Page Options
Working from right to left across the top of the page, multiple options are available.
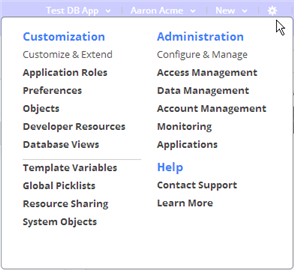
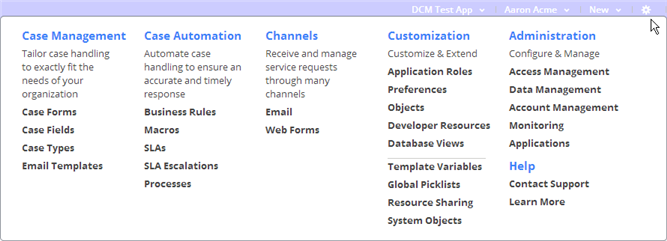
Gear Menu
- Users of a Database Application see the shortened version of the Gear menu:
- Users of a Dynamic Case Management application see an expanded version:
Tip: Click Contact Support to Open a Support Incident at the Empower site. (Accounts created prior to March, 2015 also see a Historical Cases link, for old support cases.)
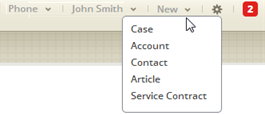
New Record Dropdown
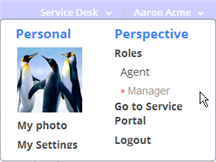
User OptionsUse this area to access your personal options.
|
|
Note: If you have multiple roles in the current application, they are displayed here. By default, your privileges are the combination of privileges for those roles. But if the Switch User Roles capability has been enabled, then only one role at a time is active. The role selected here, and it displays with a red star.
Available Applications
- The item at the end of the toolbar gives the name of the application you are currently running.
- If you have access to multiple applications, clicking reveals a dropdown that lets you select the one to run:
Additional Object Tabs
Other tabs may appear. For example the Accounts and Contacts tabs show you the records that exist in each of those objects. Here is a list of accounts:
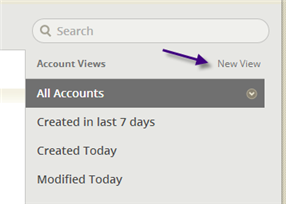
As always, you can search for a specific record, select one of several views shown in the sidebar or even create a new view to add to the list, if you have that privilege:
Record Form Sidebar
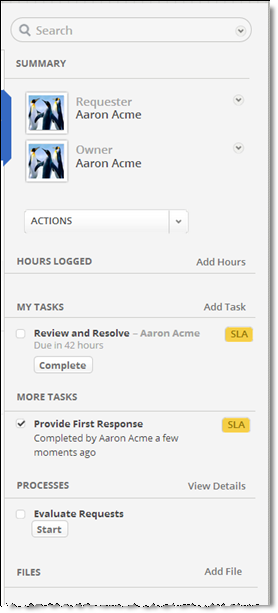
When you click on a record in a list view, the form for that record is displayed, along with additional sidebar options:
Summary
Actions
Hours Logged
My Tasks
More Tasks
Processes
Files
|
|
Next Steps
- Try Experimenting with ServiceDesk to create a case and process messages related to it.
- See more options for Viewing Cases
- Learn more about Working with Cases
- Learn about Working with Tasks

